Today I fitted the genuine Yamaha tail tidy part number. BS2-F16E0-00
The instructions where good for the easy parts but could have done with a few words in places. I started buy building it first to make sure it all looked right. After I was happy I started to remove the parts from the bike.
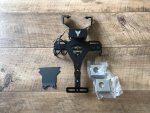
Most of the parts.
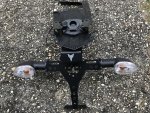
All built up.
1:The first part shows how to remove the number plate hugger and wiring. The this was straight forward. You do need to remove the spindle fully to add a spacer to both ends.
2:You then need to start removeing seat and panels.
3: Remove indicators from bike.
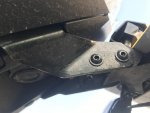
4: you now start fitting the tail tidy to the bike. Mine was already built so I just bolted it in place.
5: Remember to fit the plastic trim from the your bike as it's won't fit later.
6: Now remove indicators from your original hanger. And follow instructions to extend wires.
7: Now fit the indicators to the tail tidy.
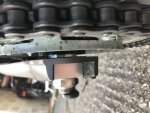
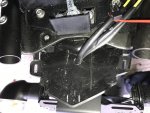
8: feed wires up and threw the plastic trim. I spotted a problem here.
9: Drill a hole to feed the wires threw the plastic trim. Unless you can figure out another way.
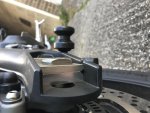
10: Plug in all connections and test everything works.
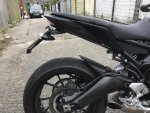
11: FIt all panels and trims.
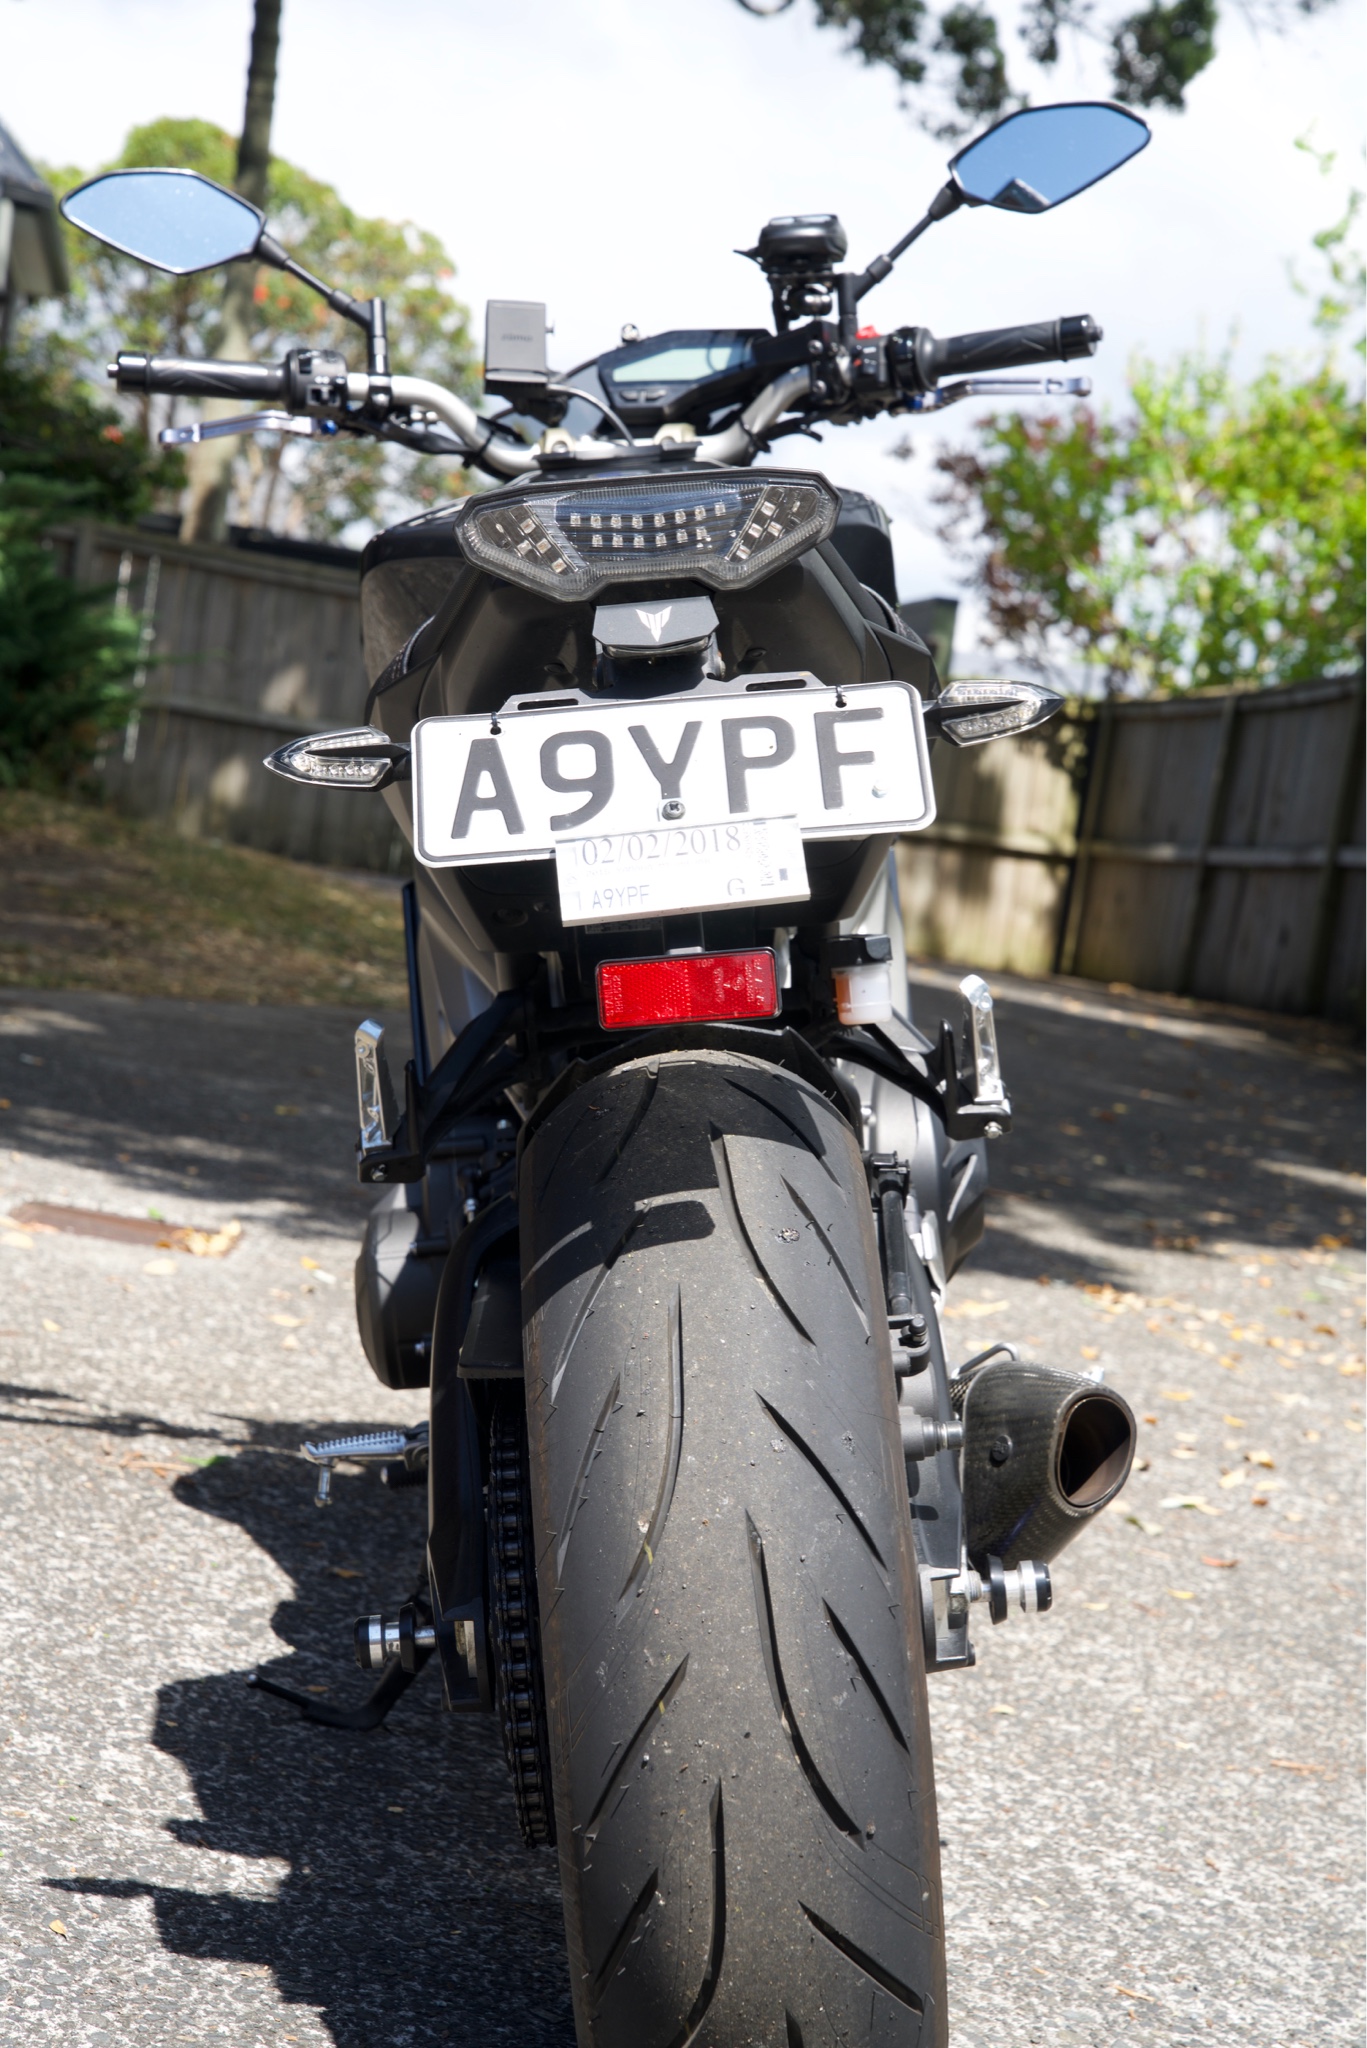
12: Job done.

I did not fit the extension section that came with the kit as I wanted the short version. If you need any information ask and I will cover it or help you.
The instructions where good for the easy parts but could have done with a few words in places. I started buy building it first to make sure it all looked right. After I was happy I started to remove the parts from the bike.
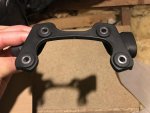
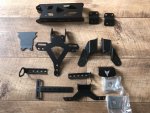
Most of the parts.
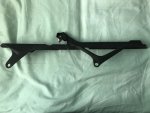
All built up.
1:The first part shows how to remove the number plate hugger and wiring. The this was straight forward. You do need to remove the spindle fully to add a spacer to both ends.
2:You then need to start removeing seat and panels.
3: Remove indicators from bike.
4: you now start fitting the tail tidy to the bike. Mine was already built so I just bolted it in place.
5: Remember to fit the plastic trim from the your bike as it's won't fit later.
6: Now remove indicators from your original hanger. And follow instructions to extend wires.
7: Now fit the indicators to the tail tidy.
8: feed wires up and threw the plastic trim. I spotted a problem here.
9: Drill a hole to feed the wires threw the plastic trim. Unless you can figure out another way.
10: Plug in all connections and test everything works.
11: FIt all panels and trims.
12: Job done.
I did not fit the extension section that came with the kit as I wanted the short version. If you need any information ask and I will cover it or help you.