
FJRider
New member
I received my CREE LED H4 High/Low from ElectricalConnection.com and today is warm enough to add this interesting farkle.
Here is their website.
EC - LED Headlight Bulb - H4 High/Low
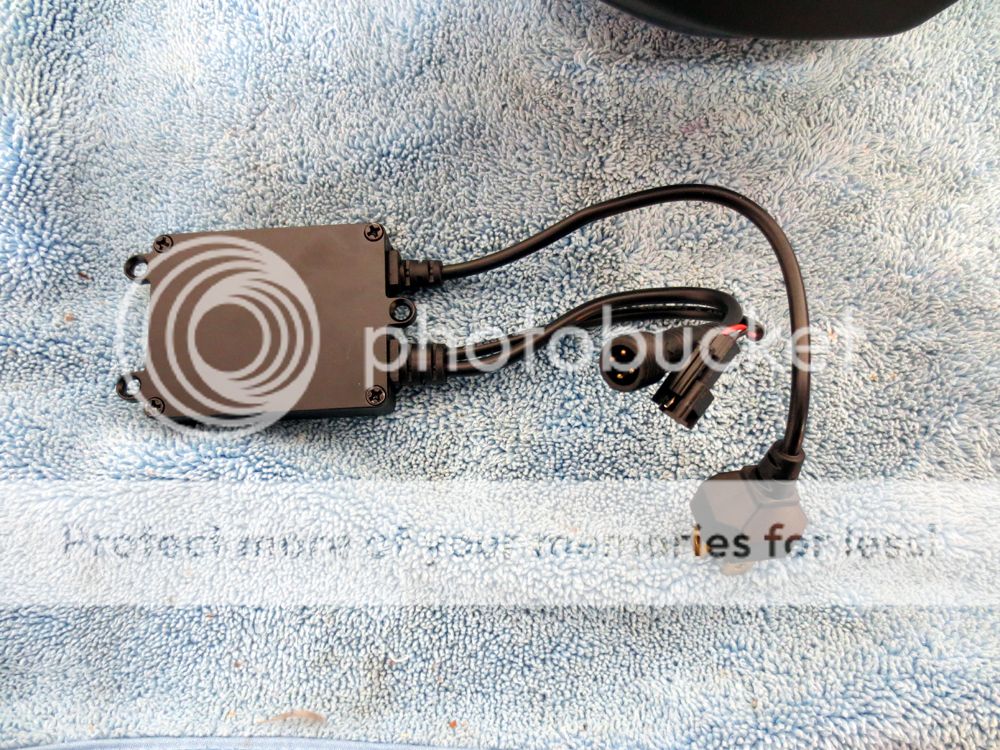
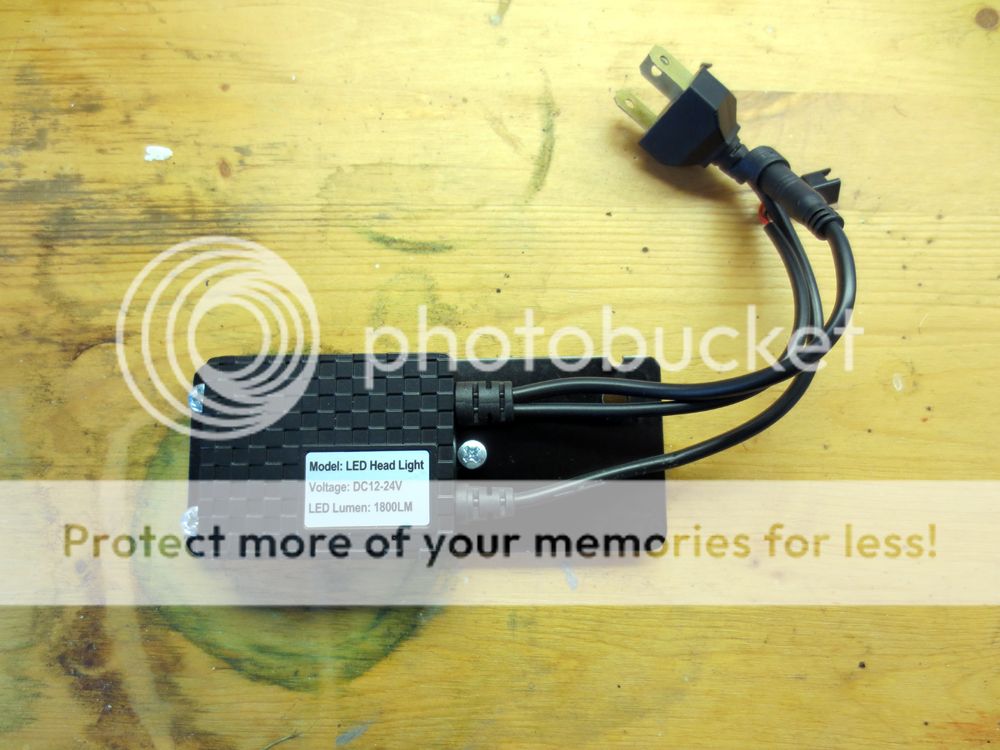
The package arrived within 3 days of order and everything looked of high quality. The kit consisted of the H4 CREE bulb, a transformer, a mini fan assembly and a PVC fan duct. The instructions were OK.
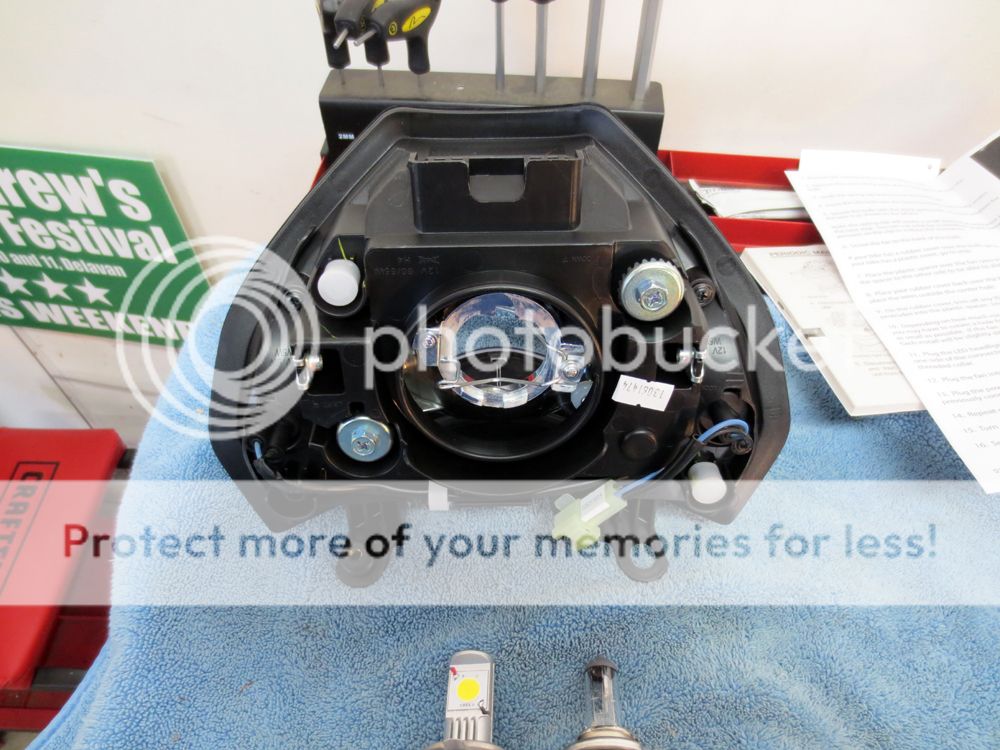
Step1: Remove the headlight from the bike

Step 2: Remove the existing H4 Bulb.
Old bulb and the CREE LED Bulb
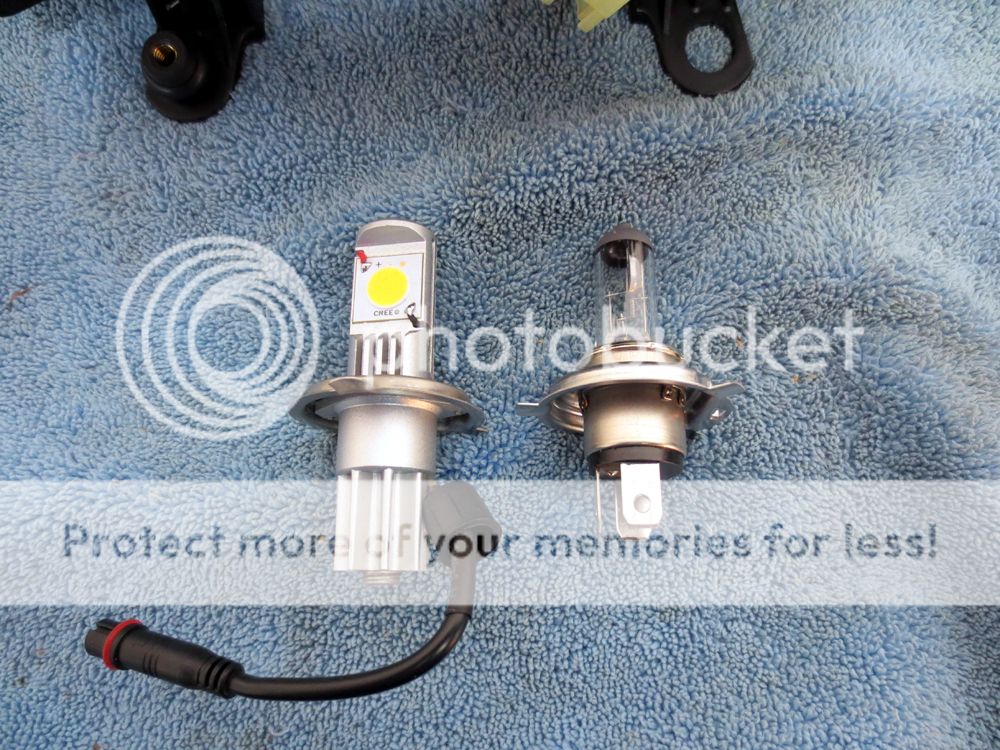
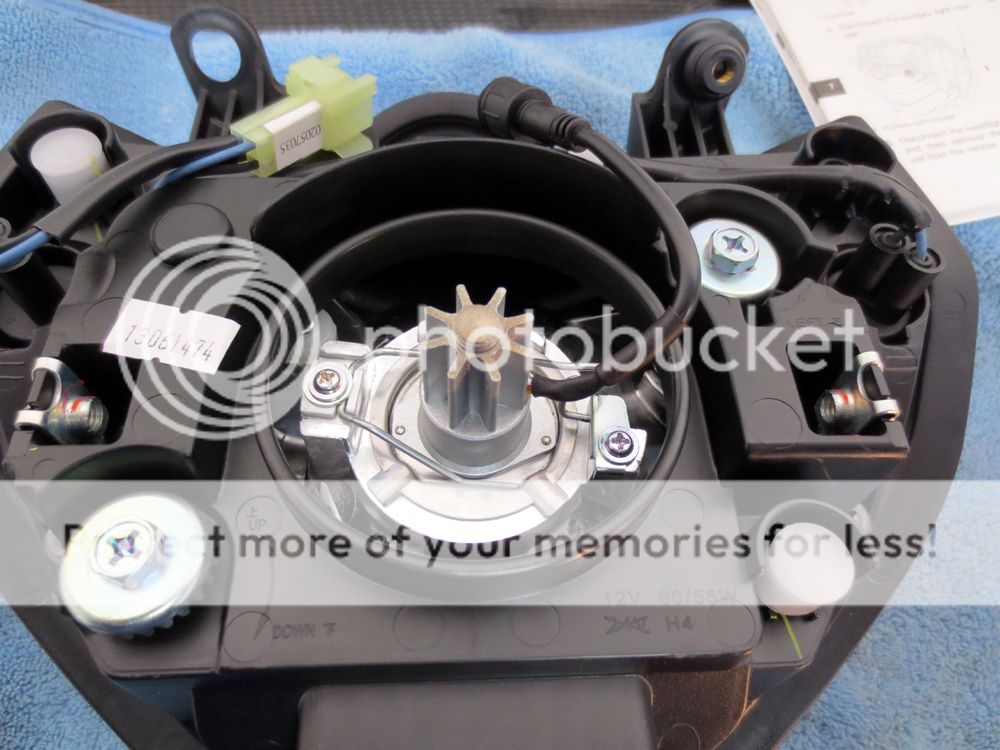
Step 3: Install the new CREE LED Bulb
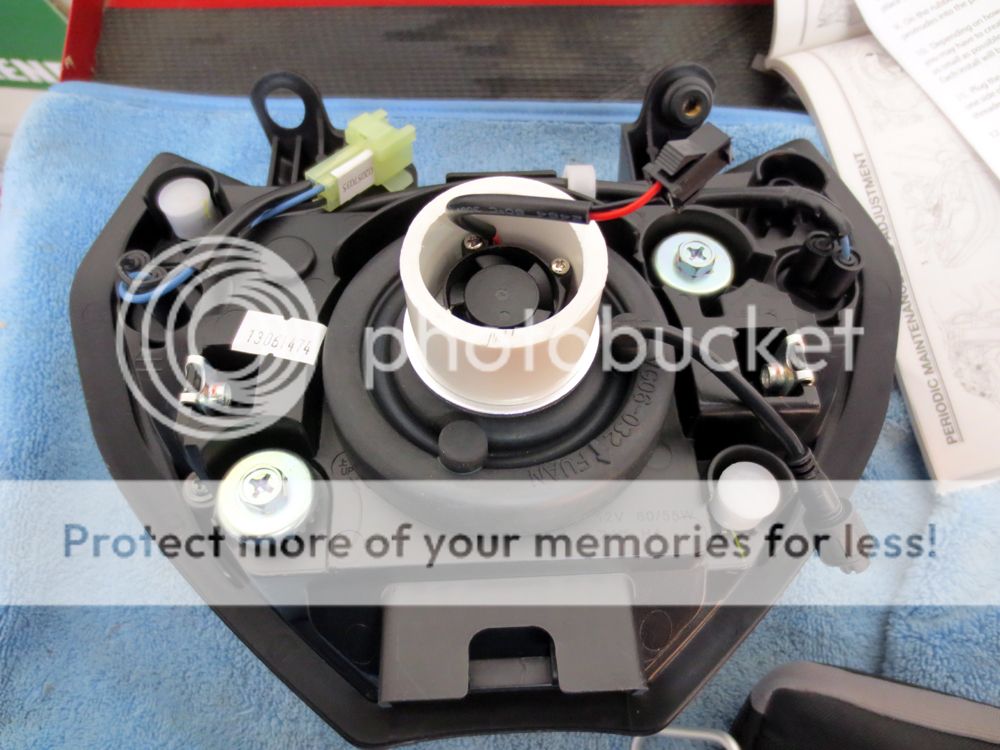
Step 4: Install mini fan and duct
Step 5: Decide where you want to mount the transformer.
The requirements are:
1. It has to be close to the Headlight
2. It must turn with the headlight and fork
3. It should not interfere with the headlight assembly
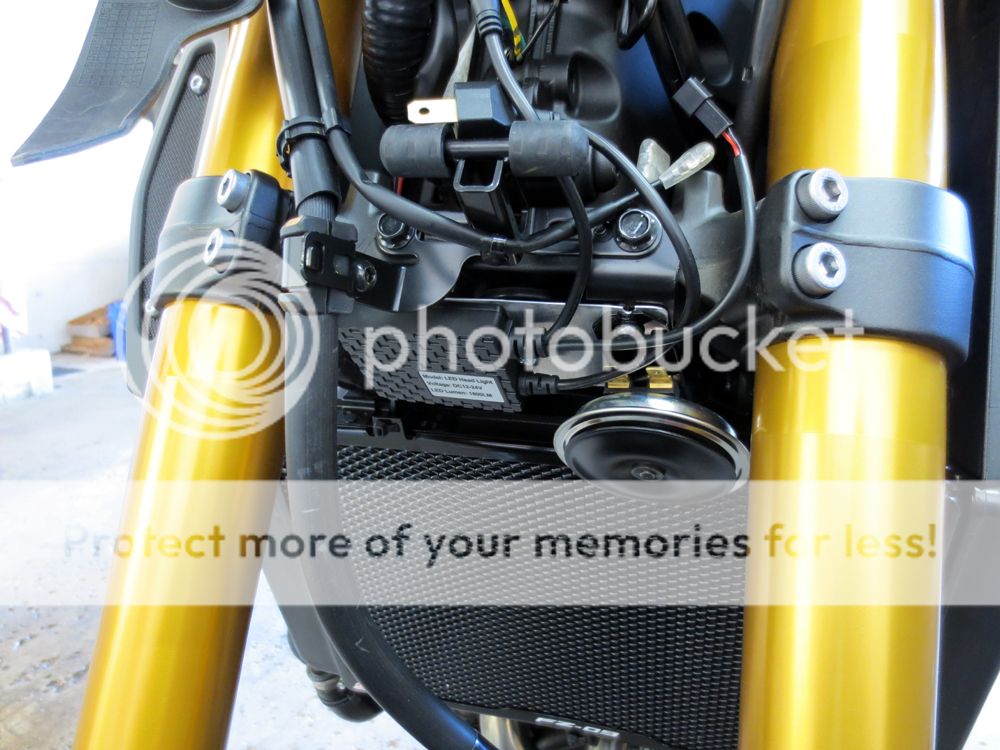
I decided the best place was next to the horn and I would need a special bracket. I used a piece of aluminum sheet and fabricated a small bracket.

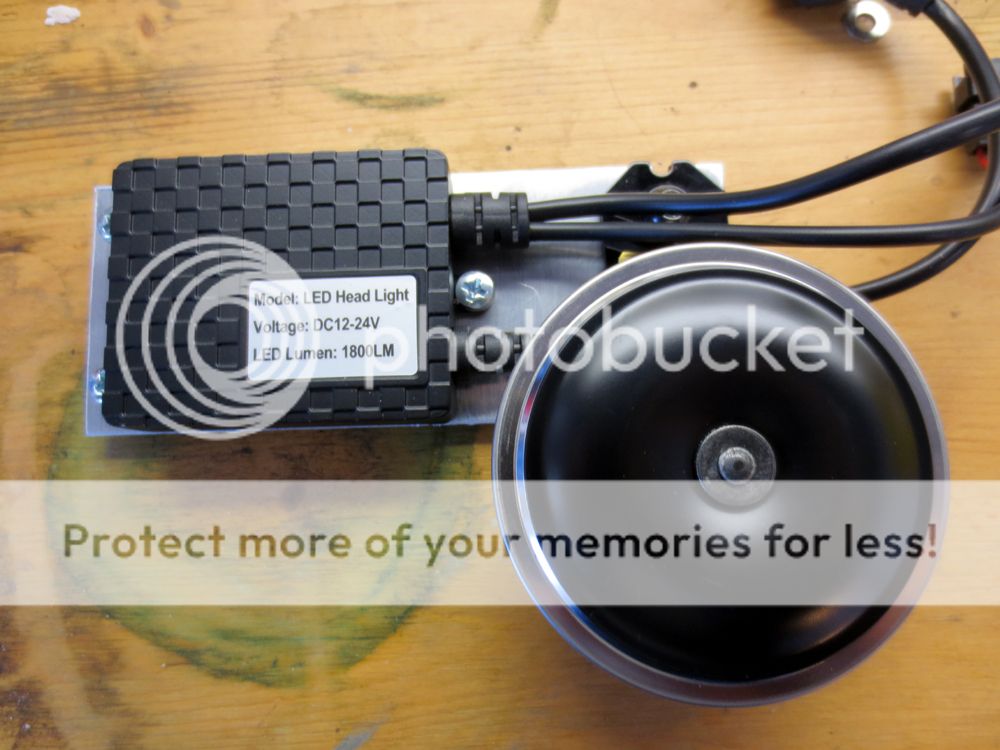
It would mount adjacent to the horn and mount between the horn and the horn fork mount.
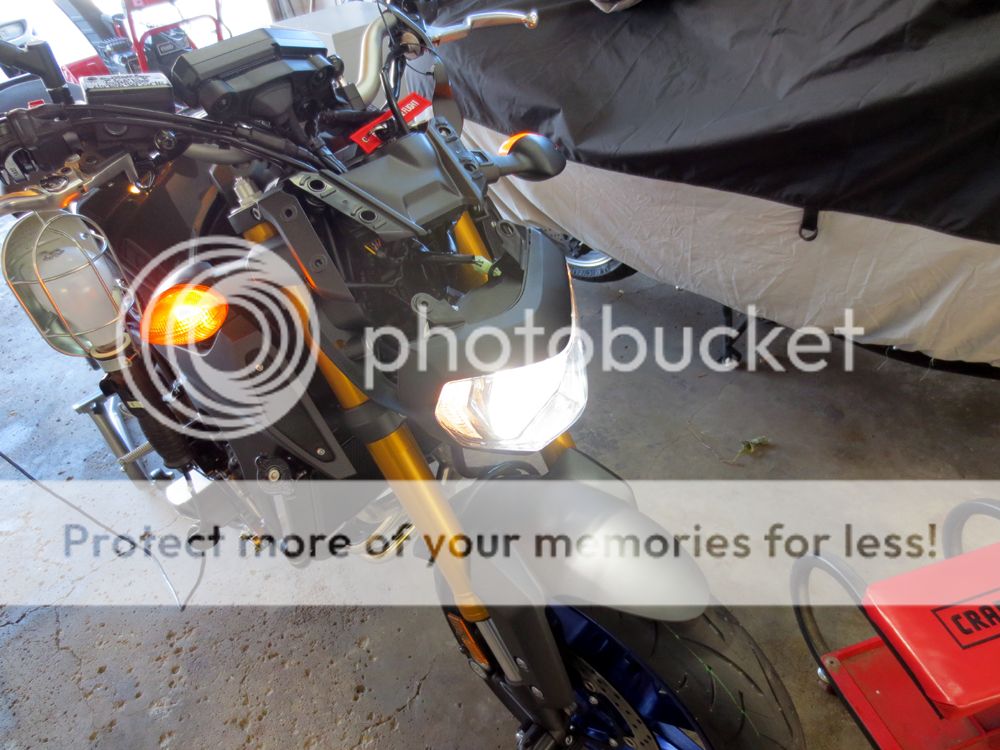
Test everything. Good to go!
Step 6: Reassemble
I took the bracket apart and painted it with some satin black rattle-can stuff I had in the basement. Now it matches the rest of the fittings and doesn't look so home made.
Here is the finished assembly.
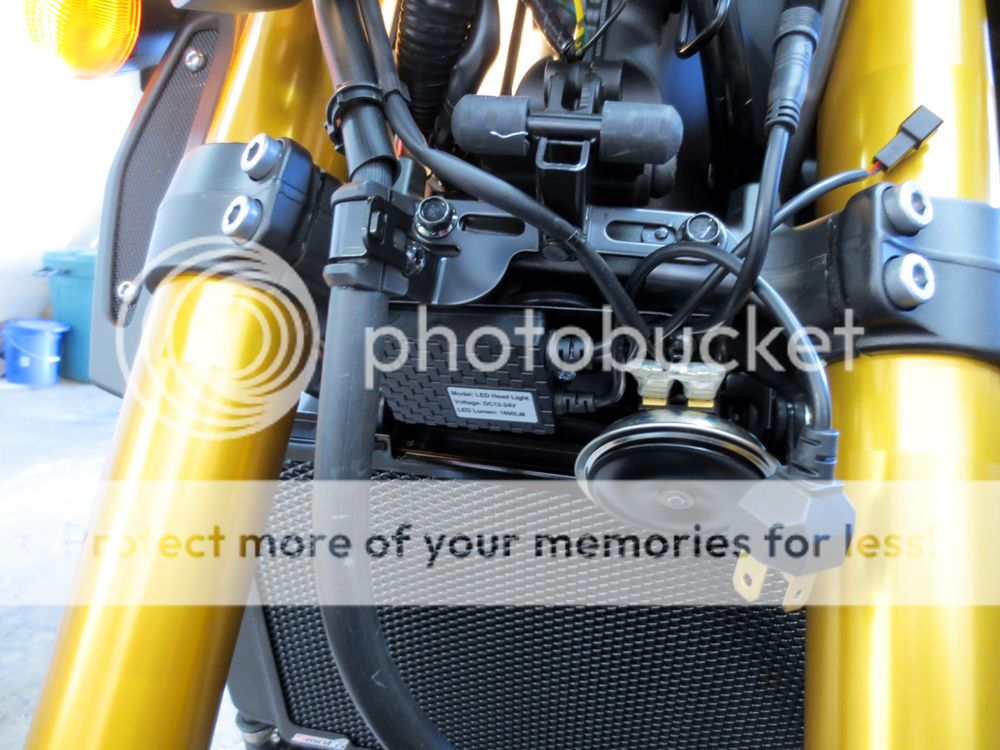
All back together.
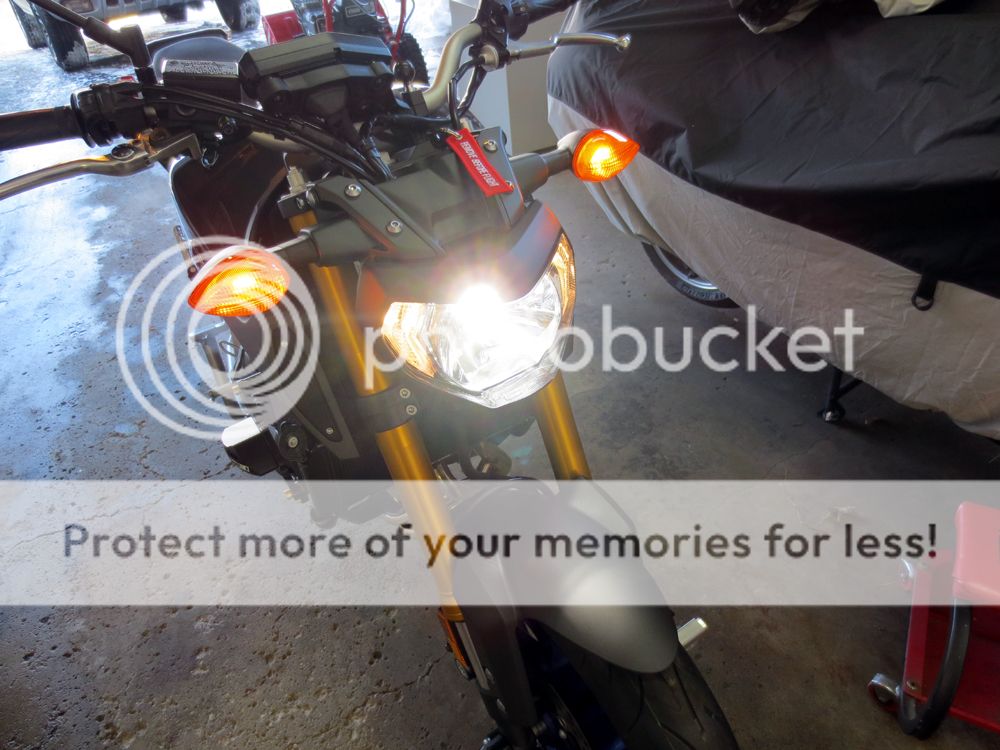
Before the modification I measured the stock headight with my wife's light meter (she's a professional photographer) one foot in front of the center of the headlight, engine running. It read 2037 lumens
After the modification a I measured the same way and got 4024 lumens.
All in all not a bad modification for $79.95 plus shipping.
Here is their website.
EC - LED Headlight Bulb - H4 High/Low
The package arrived within 3 days of order and everything looked of high quality. The kit consisted of the H4 CREE bulb, a transformer, a mini fan assembly and a PVC fan duct. The instructions were OK.
Step1: Remove the headlight from the bike
Step 2: Remove the existing H4 Bulb.
Old bulb and the CREE LED Bulb
Step 3: Install the new CREE LED Bulb
Step 4: Install mini fan and duct
Step 5: Decide where you want to mount the transformer.
The requirements are:
1. It has to be close to the Headlight
2. It must turn with the headlight and fork
3. It should not interfere with the headlight assembly
I decided the best place was next to the horn and I would need a special bracket. I used a piece of aluminum sheet and fabricated a small bracket.
It would mount adjacent to the horn and mount between the horn and the horn fork mount.
Test everything. Good to go!
Step 6: Reassemble
I took the bracket apart and painted it with some satin black rattle-can stuff I had in the basement. Now it matches the rest of the fittings and doesn't look so home made.
Here is the finished assembly.
All back together.
Before the modification I measured the stock headight with my wife's light meter (she's a professional photographer) one foot in front of the center of the headlight, engine running. It read 2037 lumens
After the modification a I measured the same way and got 4024 lumens.
All in all not a bad modification for $79.95 plus shipping.
Last edited:


